A2S documentation has been moved to the Wiki.
This page may not be up-to-date.
This page describes how to display sprites using an AnimSpriteSets created in the Editor.
Contents
Setting up
BP_SideViewPawn (side view) and BP_QuarterViewPawn (quarter view) are provided as samples.
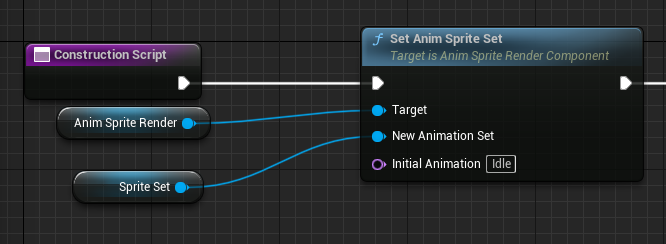
1. Attach UAnimSpriteRenderComponent to your actor

2. Setup its properties

See "Features" below for details.
3. Set AnimSpriteSet to it
Sample maps
SideView
[SideViewDemo_P]
AWSD : move
Space : jump
P : switch character
L : switch lighting

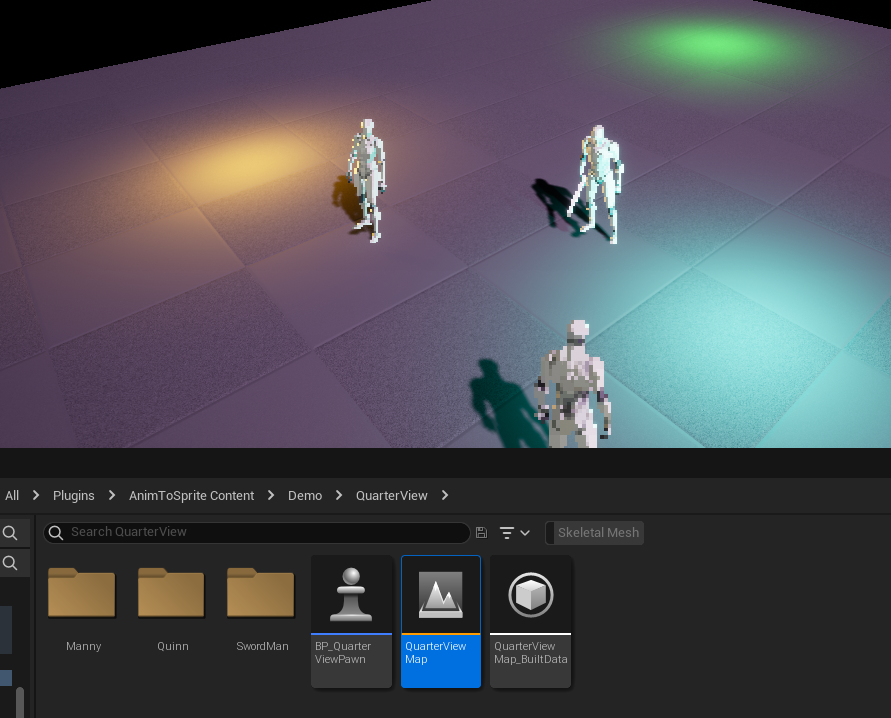
QuarterView
[QuarterViewMap]
AWSD : move
P : switch character
Features
Animation finish callback
A callback is dispatched when the animation playback is complete.
To receive callback, bind an event to OnAnimationFinished delegate.
The demo blueprint BP_SideViewPawn is a good sample of its use.

Auto Rotation
"AutoRotate" option of AnimSpriteRenderComponent determines the appropriate sprite "orientation" (expressed as an image index) from the Actor's orientation.
It is intended to be used with Billboard materials.
QuaterViewMap is a sample of this feature.
Material(instance)s
Billboards / Quads
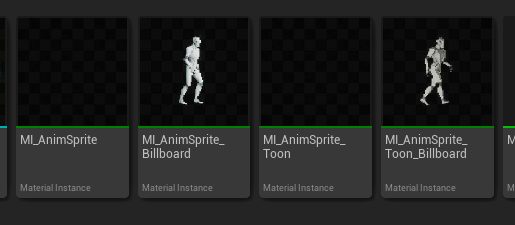
The Billboard materials (MI_AnimSprite_Billboard / MI_AnimSprite_Toon_Billboard) controls the mesh so that it always faces the camera.
This is useful when the camera is facing a variable or skewed direction.
The non-Billboard materials (MI_AnimSprite / MI_AnimSprite_Toon) controls only the size of the Quad.
This is a better fit for SideView.
The limited deformation caused by the shader makes it easier to keep the socket position consistent.
Toon Lighting / Ordinary Lighting
Toon materials (MI_AnimSprite_Toon/ MI_AnimSprite_Toon_Billboard) cannot directly obtain information about light sources other than parallel light sources, and lighting is performed through the MaterialParameterCollection (MPC_ToonLighting).
The best method for setting up light sources is likely to vary from application to application, but BP_LightFinder should serve as a sample.
For non-Toon materials (MI_AnimSprite / MI_AnimSprite_Billboard), no special precautions are required abount lighting.
Recommended Settings
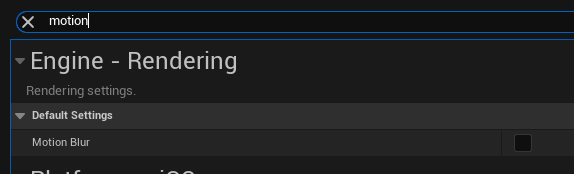
To make the pixel art look good, several rendering settings are recommended.
Antialias Method=0

No VSM

No motion blur